
Assuming you have Jekyll installed already, generate your blog with jekyll new name_of_your_blog && cd name_of_your_blog.
Then run git init.
Create a unique name to host our blog on Heroku (if you want) with heroku create siaw23sblog where siaw23sblog is a unique name of your choice. If you can’t come up with anything unique, do heroku create. Heroku will help you with a random name. You can change this later if you come up with something. You may need to install Heroku CLI to get the heroku commands.
Next step is to create a Procfile with the following content:
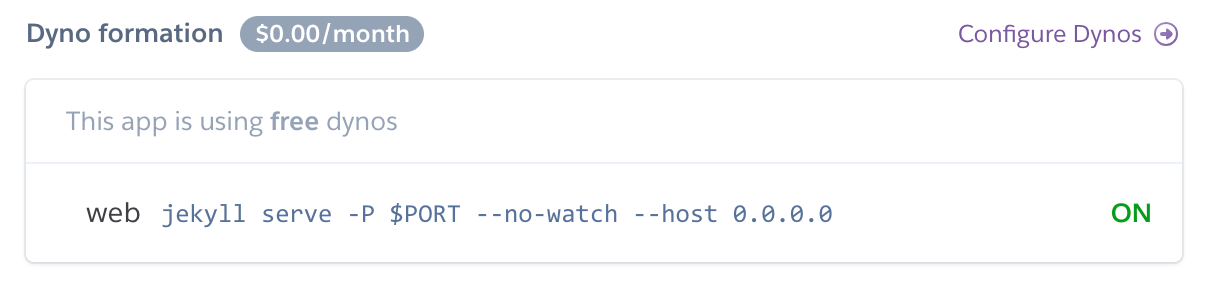
web: jekyll serve -P $PORT --no-watch --host 0.0.0.0Heroku uses the Procfile to specify which commands will run on your dynos. So in the above, we want to run Jekyll on $PORT, note that you don’t have to add any $PORT variable to your ENVs manually on Heroku. Heroku will do this for you. Then you pass the --no-watch option and specify for your server to run on Heroku’s localhost.
Commit and push everything, including the Procfile to your master branch on Heroku.
The final step will be to go to your dashboard on Heroku and turn on your “web” command. You can find this on the “overview” tab of your application’s dashboard on Heroku.
Do heroku open to see your blog basking in glory.
Happy blogging!